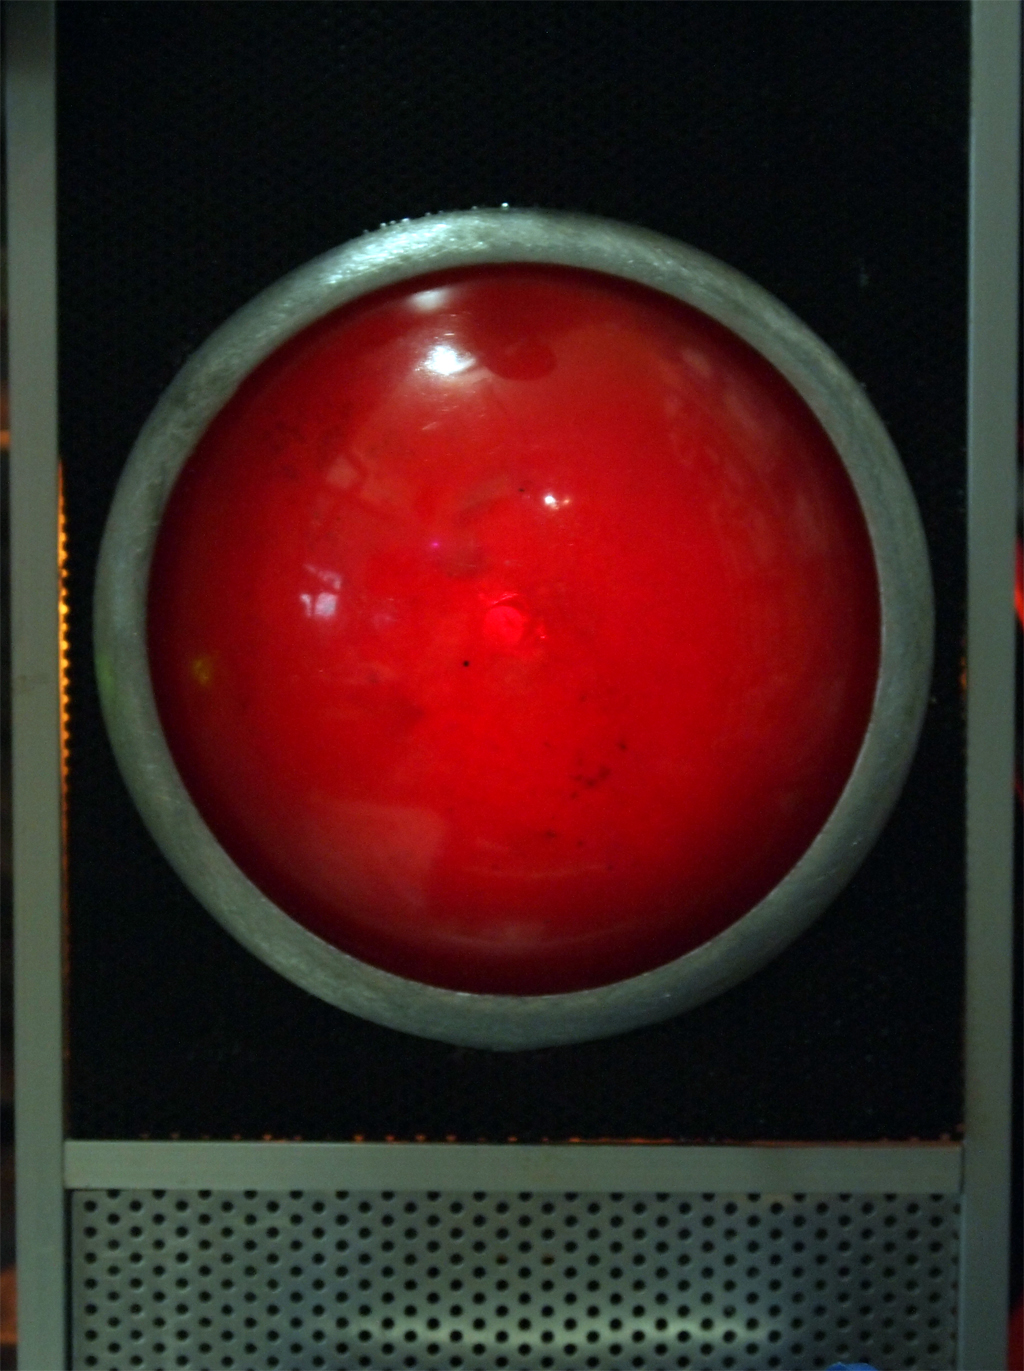
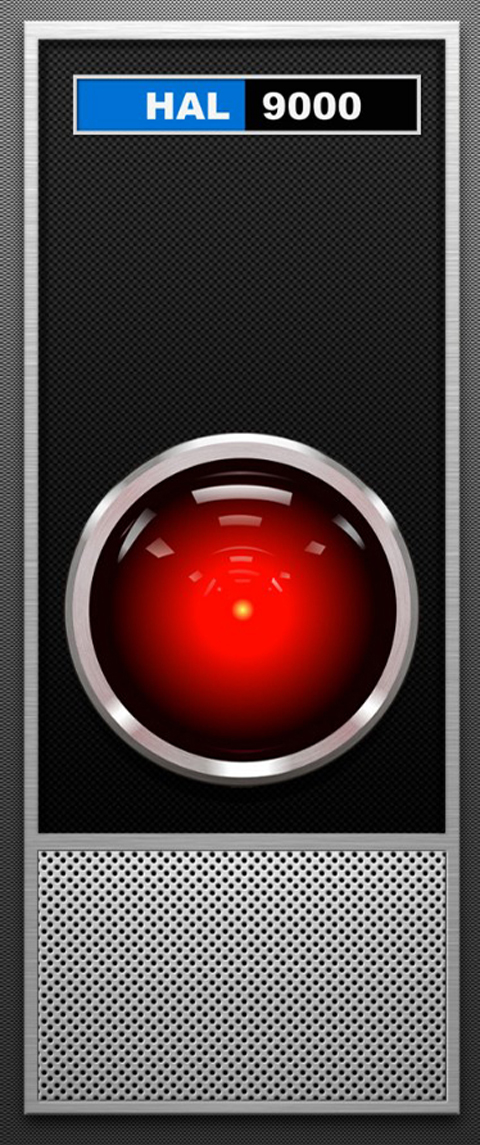
”I am sorry I'm afraid I can't do that" it's a famous talk by HAL9000
Pigeon blood red Camera eye looks something beyond our exsistance.
It is one of the most impressing icon of 2001 Space Odyssey however.
I love this panel and searched the net to find if there is any available.
What I found is a regin kit which I have to paint metaric portion to make them
look real metal, which is not my expertise.
So I have decided to make it from scratch materials. It looks rather easy since it is
build with a plate, alminum edge, panching metal net and a dome.
For those who do not want to sped much time, here is the paper craft site.
http://cyberdrone.deviantart.com/art/Cubee-HAL9000-135038038
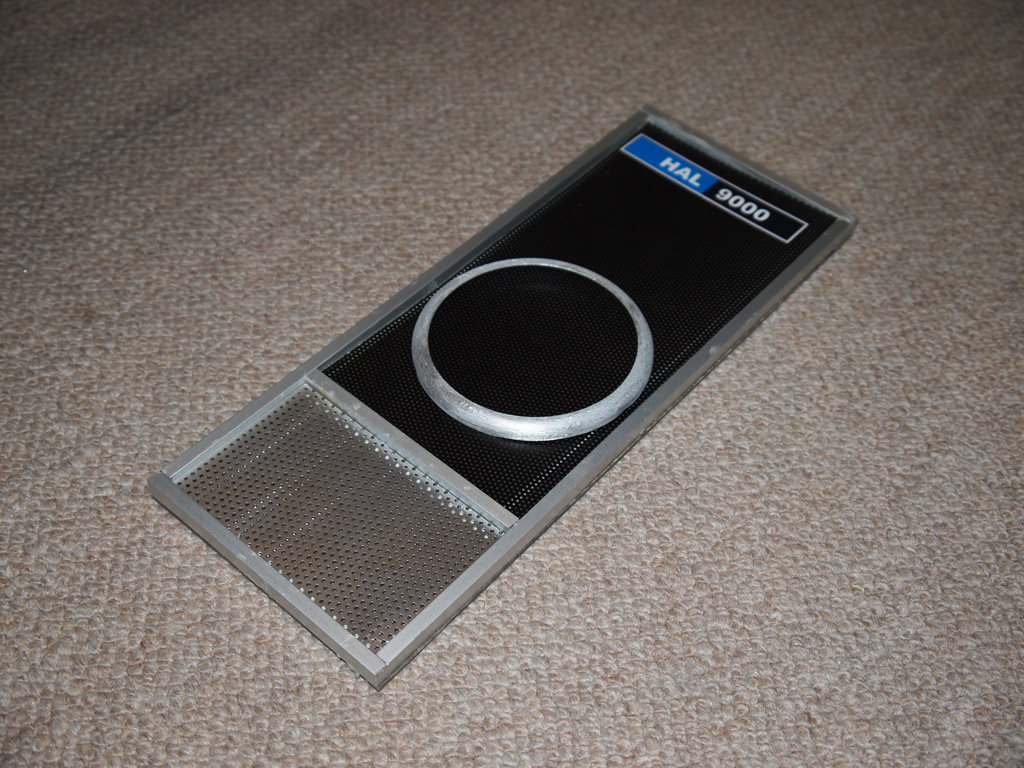
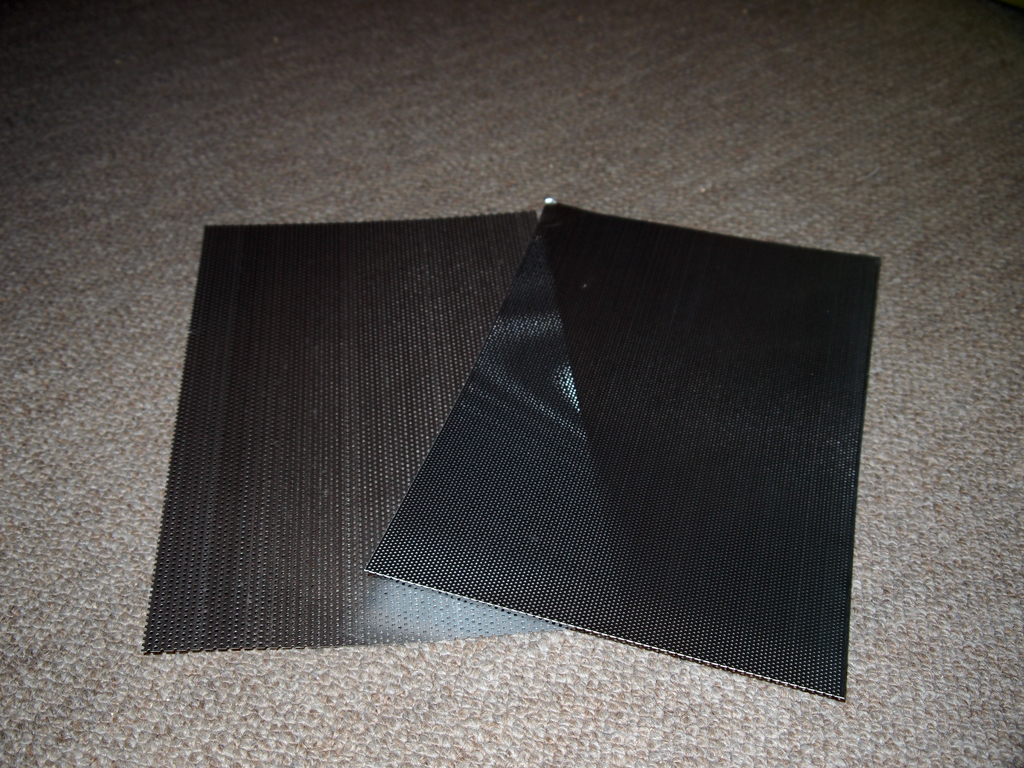
I chosed acrylic plate as the base, it is easy to get and easy to cut and bond firmly using dedicated cement. Panel is covered with two kinds of panching metal nets, one is located at the bottom, in silver and with bigger holes. The other covers upper part of the panel around the eye and has smaller pitch of holes and in black. The dome might be hard to find, but I could salvage it from a junk survey camera. Iwas not expected the hardest part to get was the metal ring aroud the eye. I visited many shops to find the material which might be converted to the ring. Finaly I found alminum air duct outlet for this.
There is no real function for the panel except it has speaker to play MP3 sounds maybe and dark red light. It is not a fun to make just another wall poster next to the playmete of the month and I had installed human sensor in it. It senses when you move in front of the panel and lits small LED at the center of the eye and trip a small relay which could be used to trigger a sound device to talk "Good morning Dave" or whatever. Sound recognition and Artificial Intelligent is most wanted function as I can communicate with PC as I talked to HAL9000. Unfortunately 'Siri' one of the most advanced voice recognition system to date for afordable price is still a kind of funny toy.
Anyway I can think about the software part after I finished the hardware part.
Let's start a voyage to deep space!
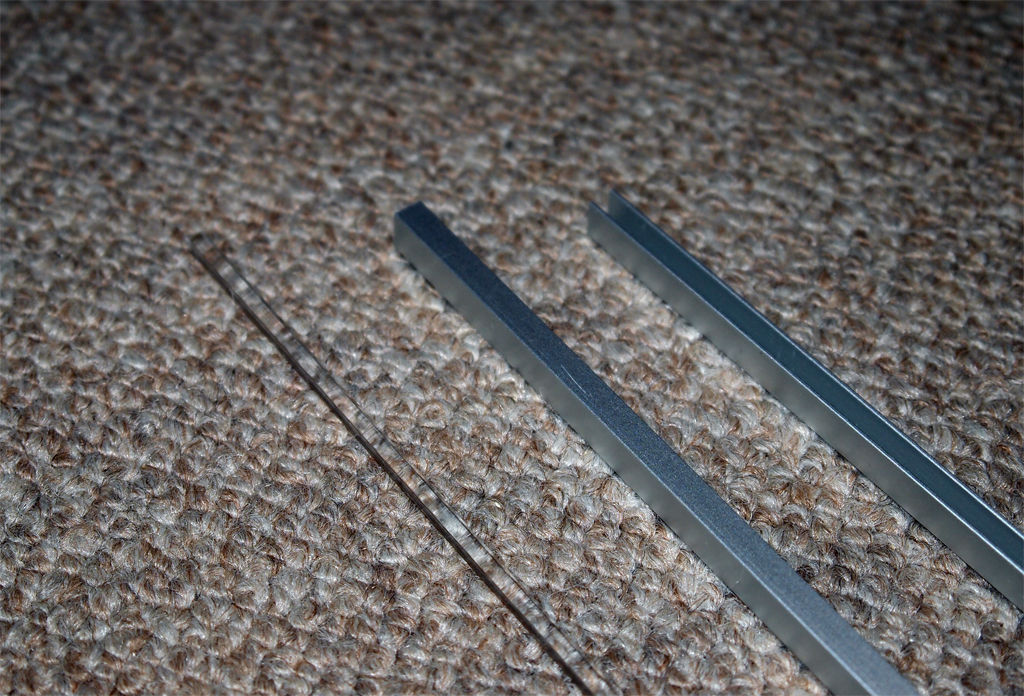
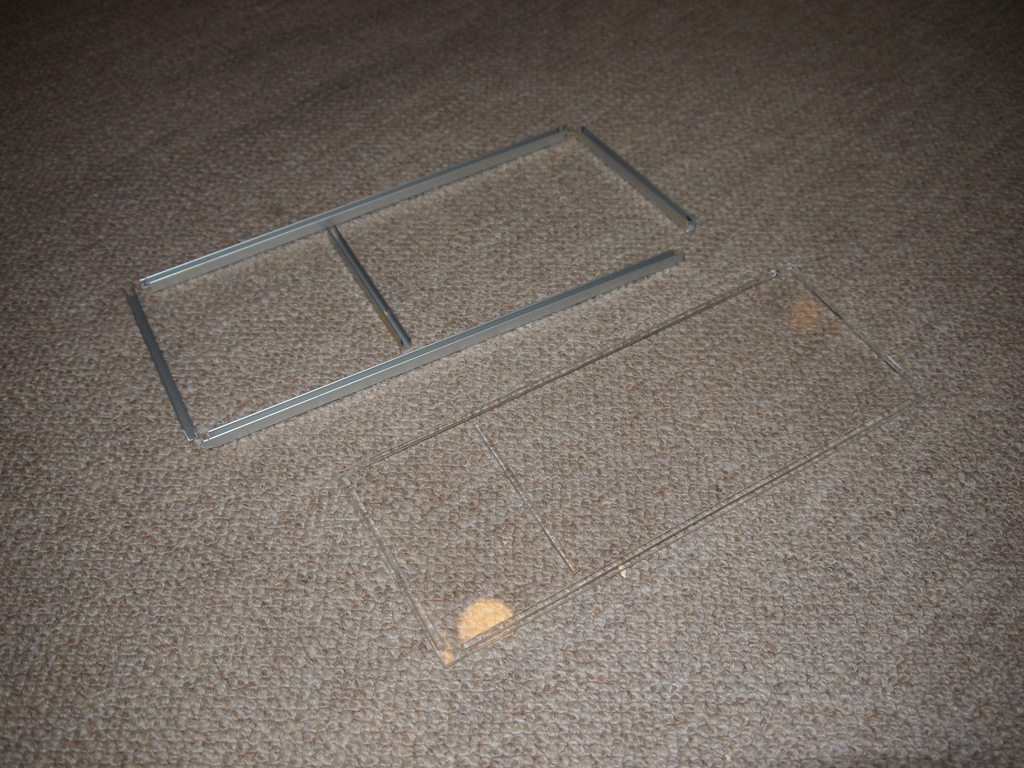
Here is alimnum channels (sticks) for the trim of the panel and acrylic stick which holds the channels.
Two kinds of panched alminum plates for front panels.
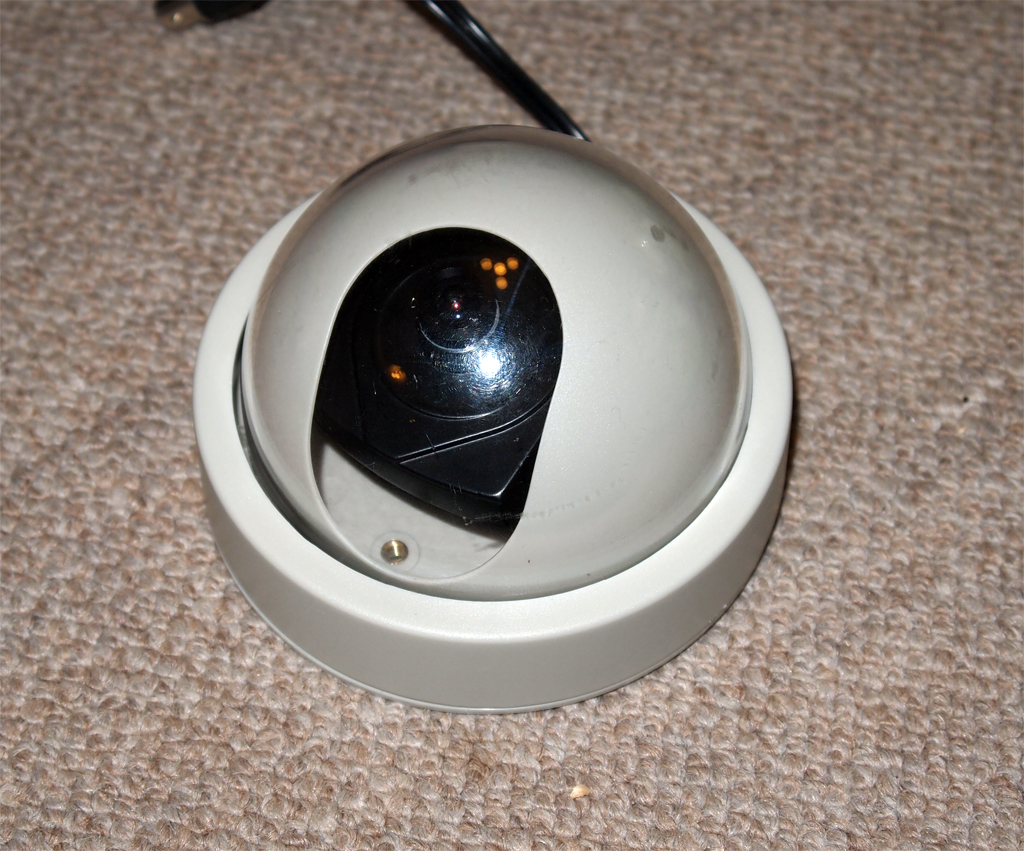
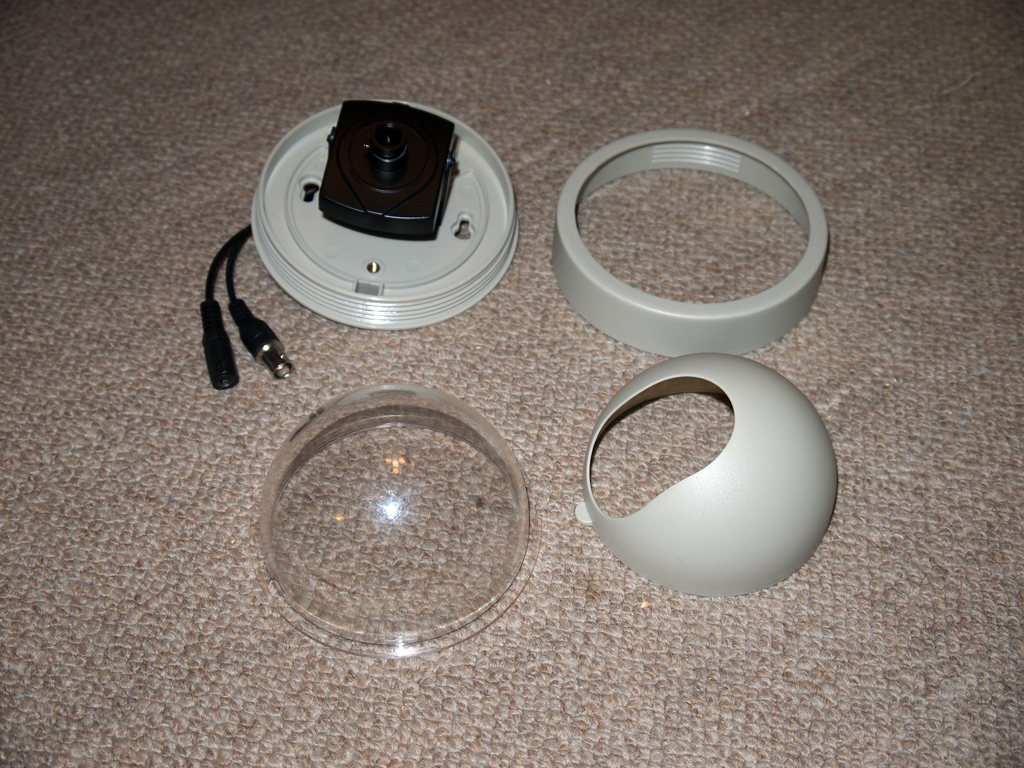
A junk survey camera I bought for $5 months ago at Akihabara.
What I needed was the acrylic dome at the left bottom. Still it is much cheaper than new acrylic dome.
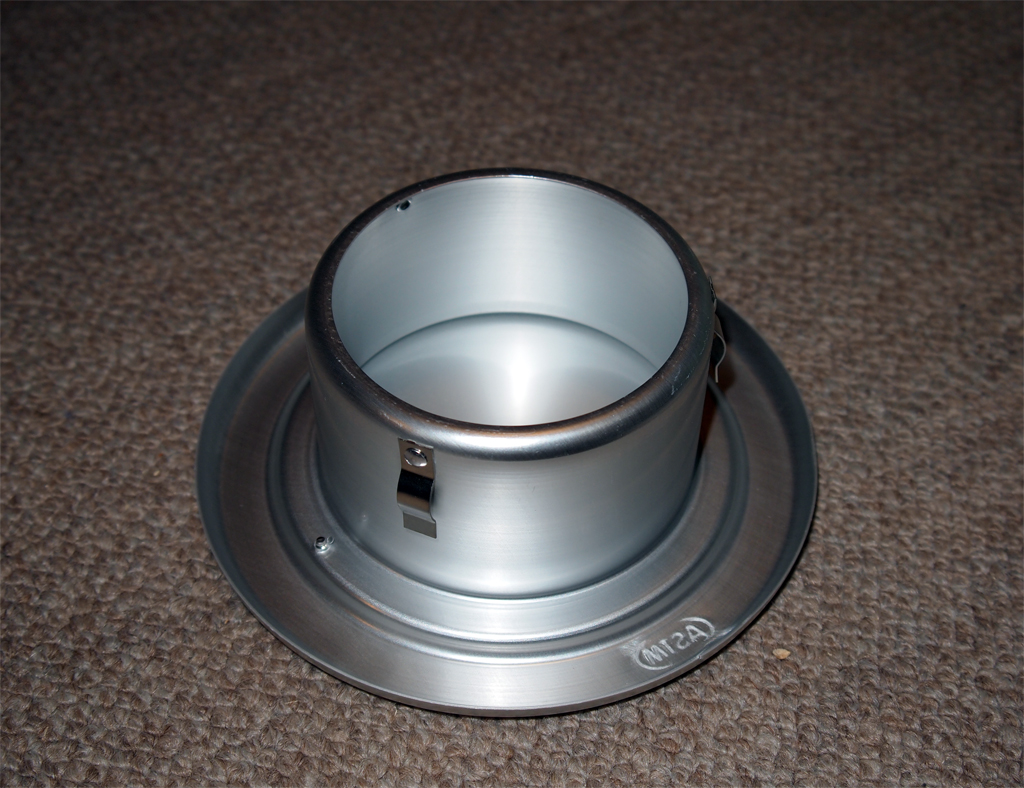
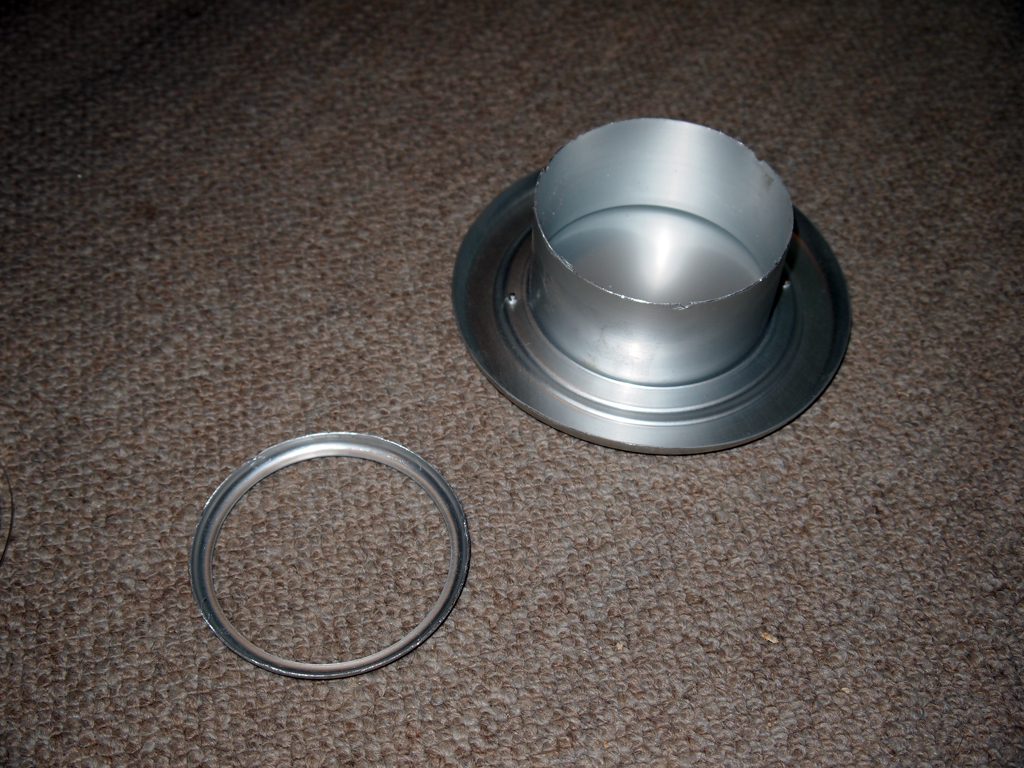
This was the hardest part to find, an aliminum air duct which will be the ring around eye. I use only small top portion to make the ring while it costs me $20!
I also considered to use the outer ring of this. This is $1.50 cheap. But above looks better.
Click it for lifesize picture I used. You can download and print it to measure actual size. Please note that there seems to exists several versions of this kind of panels in the movie, some are longer (taller) than this. I chose this because I like it.
The alminum trims are 5mm width.
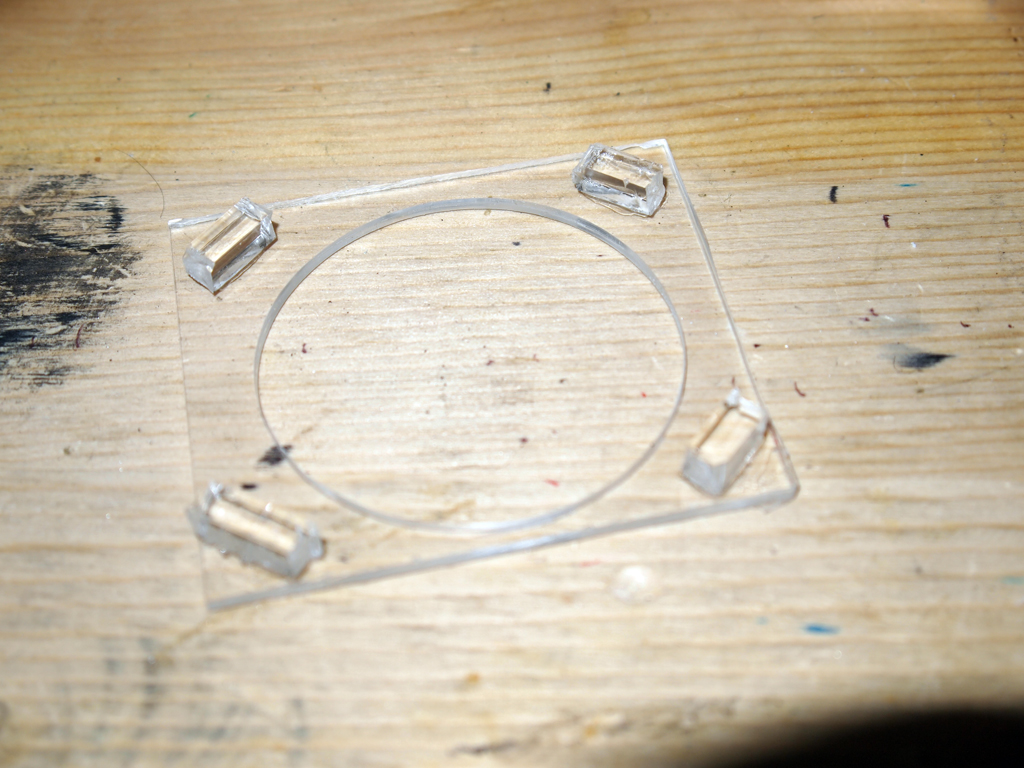
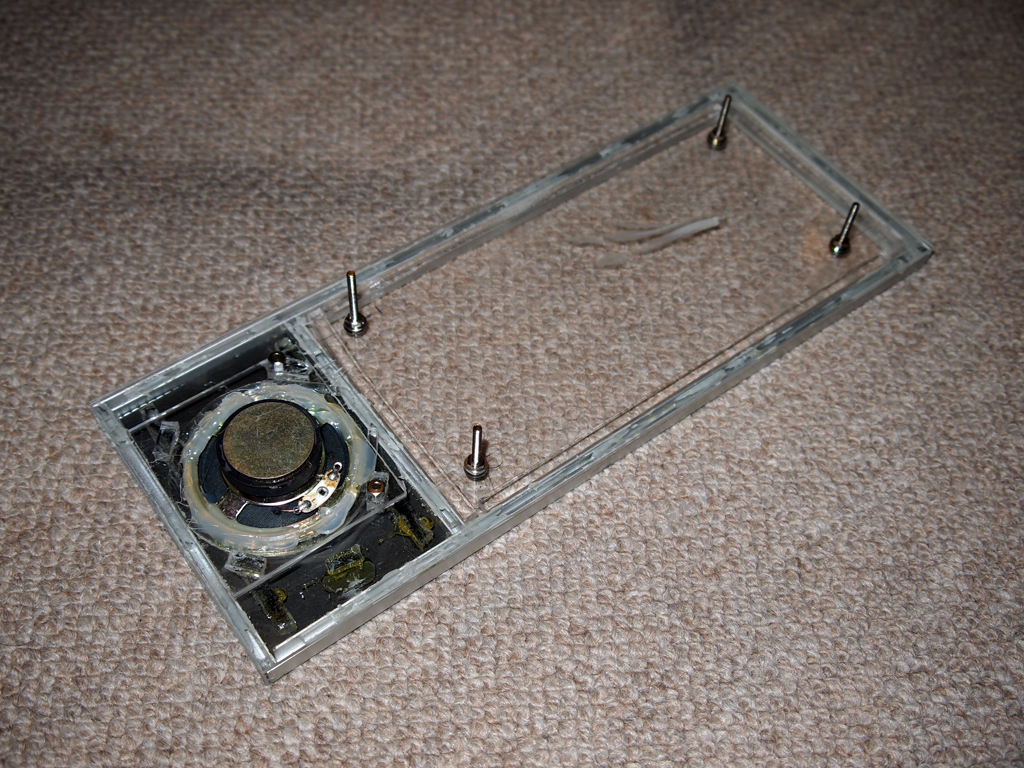
The panel is made of 3mm thick acrylic board. It has three holes for Speaker, Light bulb and human sensor. 5mm acrylic sticks are bonded around the base plate using dedicated bond to hold trims.
|
|
 |
|
 |
|
 |
|
 |
|
|
|
|
|
 |
|
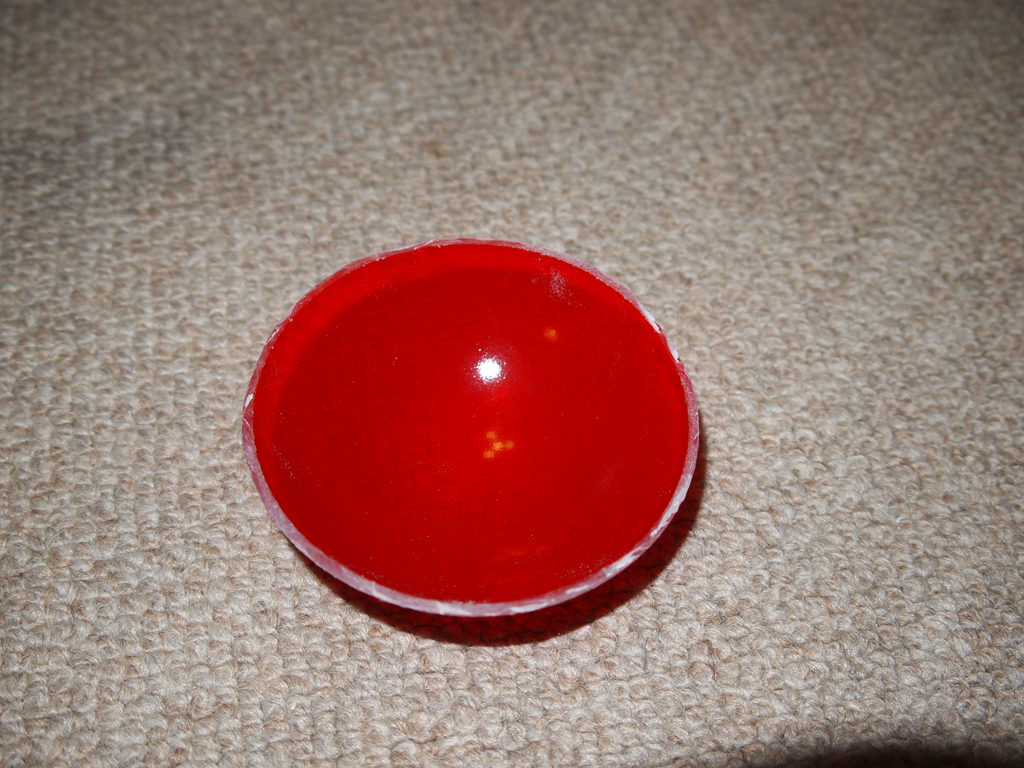
I examined the movie and knew that the red camera eye is not a half sphere but low dome.
It is in red and there is dark gradation toward the edge. It also has a small Yellow dot at the center.
I painted the inside of the dome with clear red paint for plastic models.
Layers of the paint made the dark and still transparent pigeon blood red which I wanted.
As the light source I tried LED but it's beam did not match.
I tested small 12V bulb instead. It is much better than LED as the light is distributed to all directions.
But still I can see the bulb's filament through the dome. It also does not give gradation at all.
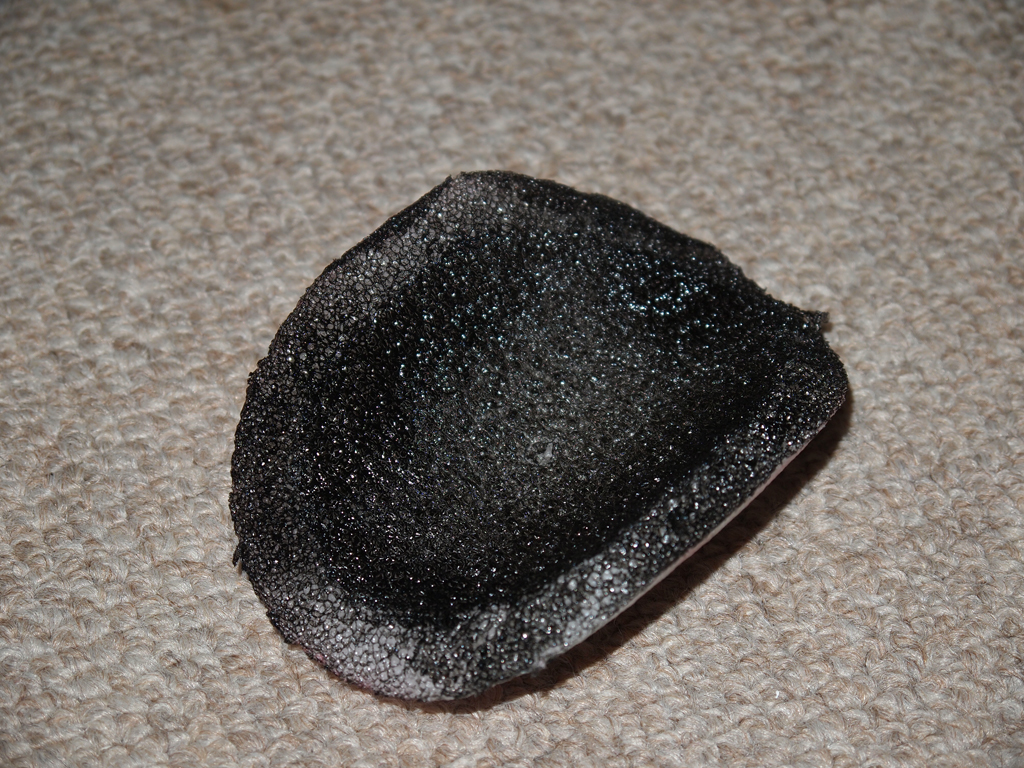
To solve the problems I placed a polyurethane form inside of the dome and paint it's inside with shading black.
It works, light is distributed evenly and gives perfect gradation by adjusting the position of the bulb.
I put an LED at the center of the form. Since yellow LED could not see through red paint,
I used green LED instead. It does not look yellow nor green but it is distinguished from the color around.
Inside of the dome was painted with layers of clear red plastic model paint to make it dark red.
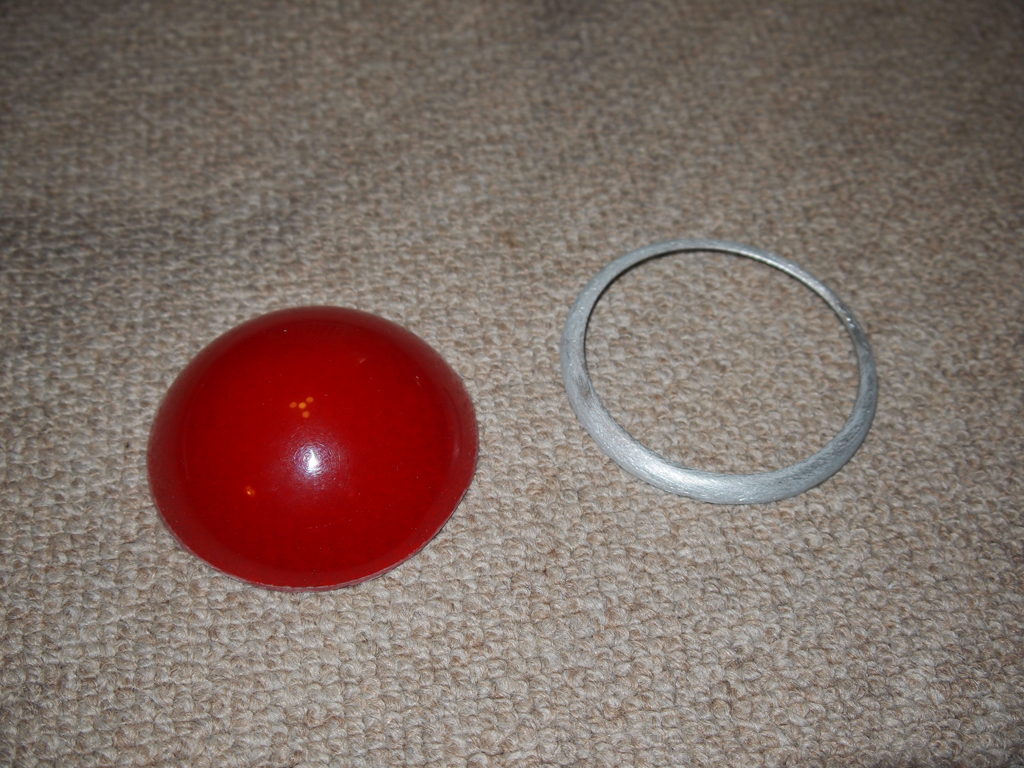
Painted dome and the ring.
Polyurethane form is placed inside of the dome to distributes the light evenly and gives guradation.
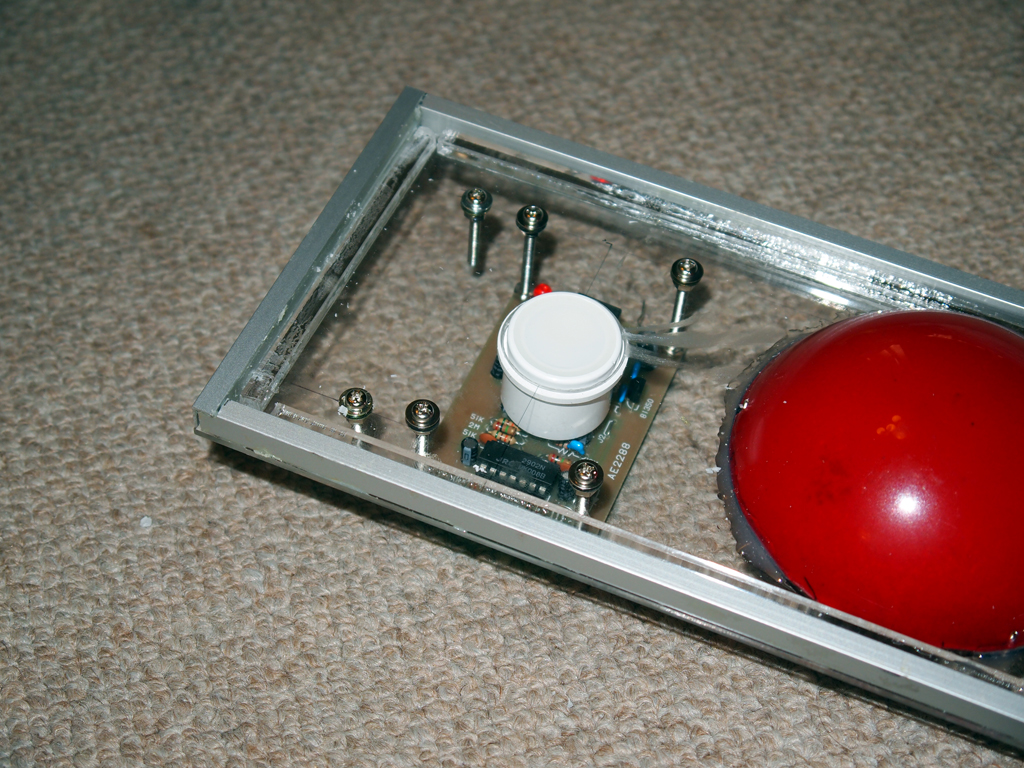
Small bulb is fixed using a piece of Polyurethane form bonded on the base plate so that the bulb position can be adjusted.
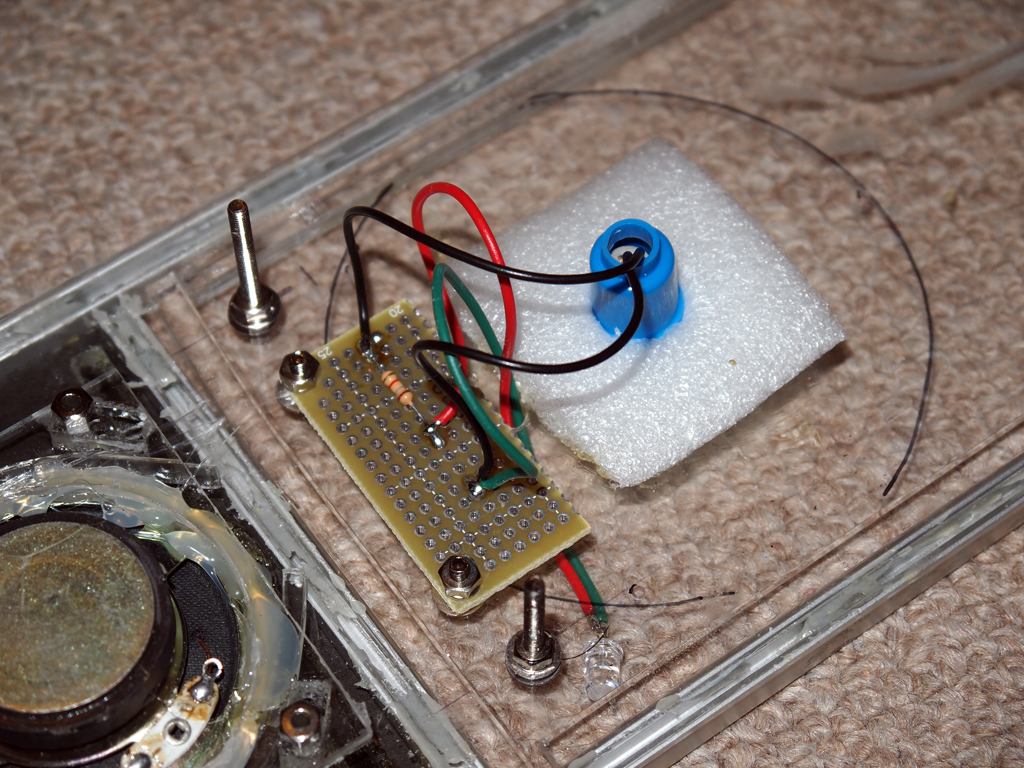
This is the only high-tech device built in at this point.
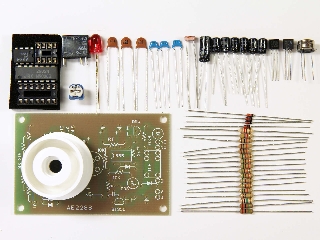
I obtained a kit sold at Akihabara which is consist of IR detector, Lens and parts for the circuit.
It does sense the MOVE of human. It does not sense you if you are still, only when you move
in the sensing area it trips a relay and lit LED. I connected eye LED to this circuit and
if you stand in front of it, it lits LED for a second and you hear a click of relay.
At this point I am not decided the use of relay yet.
|
||
 |
|
|
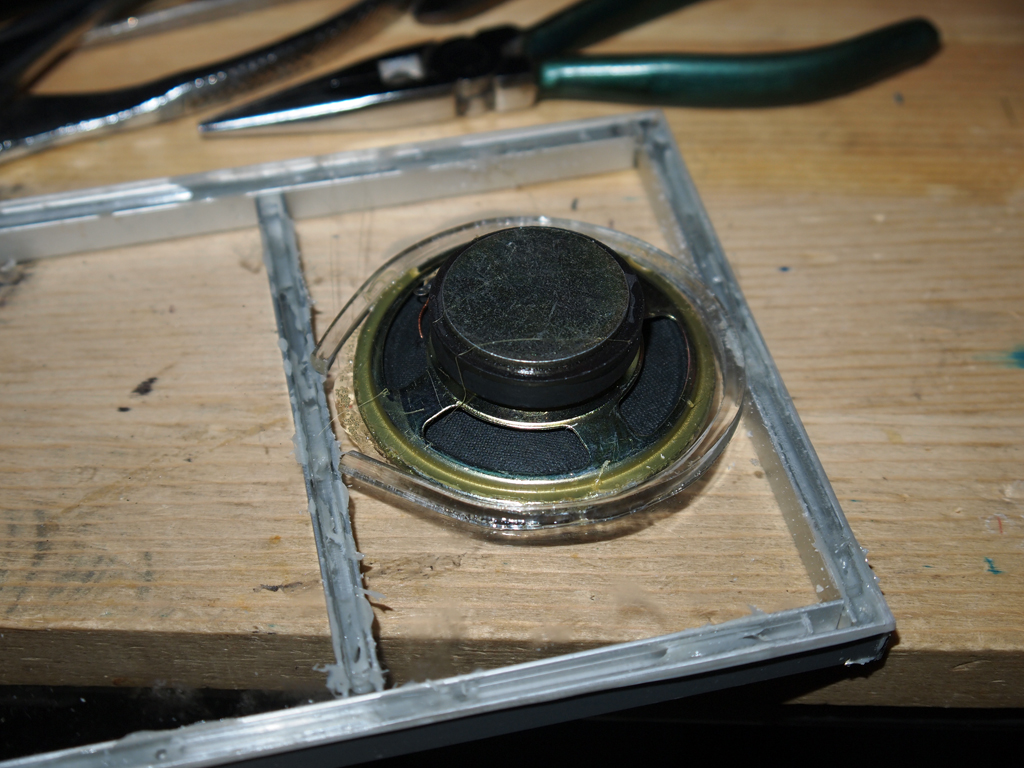
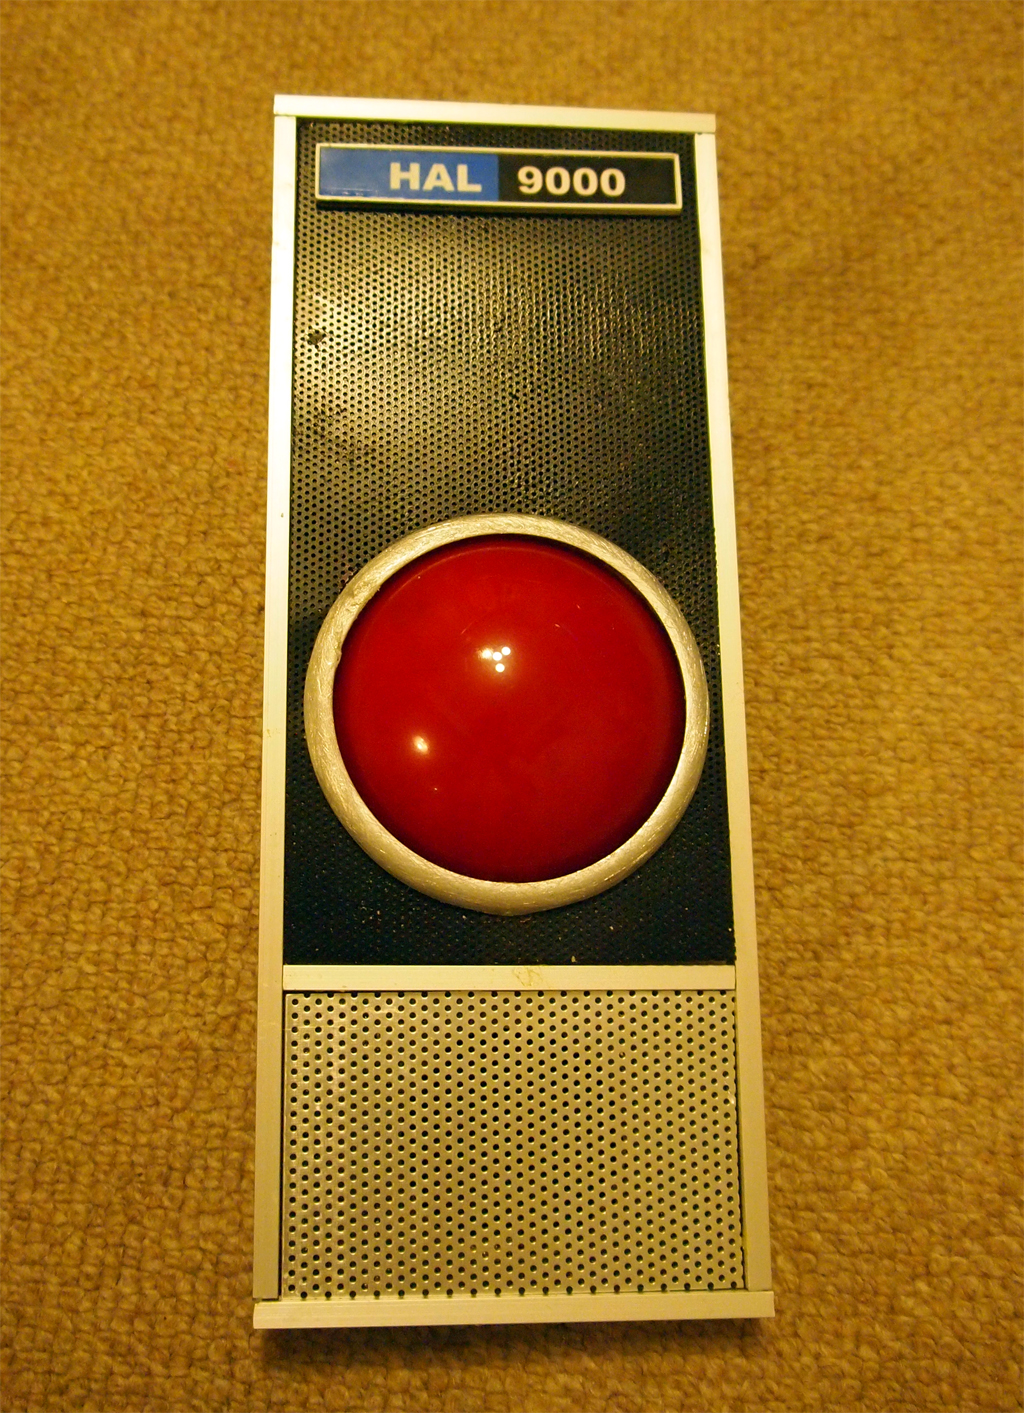
Finaly the whole panel is assembled and working (in part.)
When you stand in front of your HAL9000 communication panel, it lits small LED to greet you.
That's it for now, the future expansion will be done by software part.
 |
|
|
 |
|
|
|